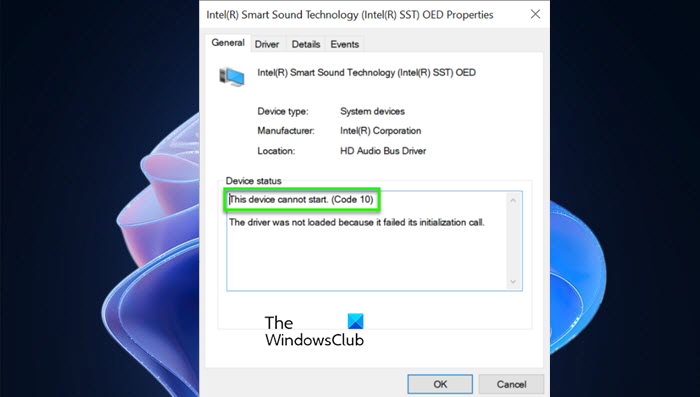
According to them, when they open the Device Manager and go to the Properties of Intel(R) Smart Sound Technology (Intel(r) SST) OED. The Device status says “This device cannot start. (Code 10)“ or “Failed to load external libraries“. In this article, we are going to resolve the issue with some very simple solutions that even a tech amateur can execute.
Why is the Intel SST microphone not working on Windows 11/10?
More often than not, you will face this error because of a driver’s issue. If your driver is not working, if it’s outdated, or if the driver is corrupted. The reason why the driver will show this peculiar trait can have a huge list, but they can be fixed easily, and we are going to see that later in the article. There can be some compatibility issues as well that you have may have encountered after downloading an application. These applications can conflict with your driver and cause the issue in question. There are some other reasons and potential solutions that we will see later in this article. So, let us hop into it.
Intel SST microphone not working on Windows 11/10
If the Intel SST microphone is not working on your computer, then, first of all, you should try restarting your computer. If that doesn’t work, then try reconnecting all the peripherals, this will work if you have an external microphone that is not working. Also, this time when you are connecting, make sure that all the connections are tight. If that is to no avail, then follow the prescribed solutions to resolve this issue. Let us talk about them in detail.
1] Uninstall Intel SST
Sometimes, running away from the problem is not that bad. In this case, if you remove the faulty Intel Smart Sound Technology (Intel(r) SST) OED driver, your computer will be forced to use the generic option. So, go ahead, and remove the driver in question, your issue will be resolved. Follow the given steps to do the same. Then restart your computer and check if the issue persists.
2] Use Intel Driver Support Assistant
Intel Driver Support Assistant is a great way to update your Intel drivers. You can easily update all the outdated drivers and which will eventually resolve the issue. Once, you do that, launch the app and then let it identify all the outdated Drivers. It will ask you to download and install the latest version of those drivers. Do that, and check if the issue persists.
3] Run Audio Troubleshooter
You can also use the in-built Audio troubleshooter of Microsoft to fix audio issues. To do that, follow the given steps. Your issue will be detected and resolved.
4] Replace the driver with HD Audio Controller
A lot of victims were able to resolve the issue by switching to the HD Audio Controller. You can easily replace the Intel driver that’s causing trouble for you, with the generic driver. Follow the given steps to do the same. Now, restart your computer and see if the issue persists. Hopefully, you are able to resolve the issue with the help of the given solutions.
How do I reinstall my Microphone Driver in Windows?
You can easily reinstall your Microphone Driver from the Device Manager. Follow the given steps to do the same. To reinstall it, you can either download the driver from the manufacturer’s website or click on the Scan for hardware changes button. This way, your Audio driver will be reinstalled and you will be able to eradicate the error.
Microphone keeps muting itself on PCMicrophone keeps resetting to 0 or 100 volume.

