How to create a folder in Start Menu of Windows 11
If you’re Windows 11 user and would like to create a folder in the Start menu, follow the below suggestions:
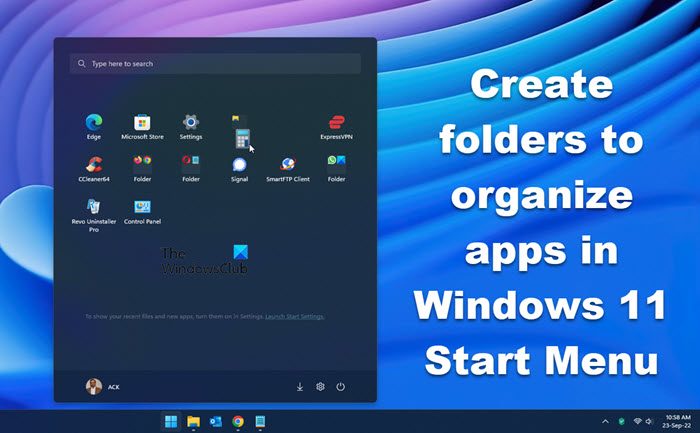
Create folders to organize apps in Windows 11 Start Menu
To get started, open the Start menu first. Now all you have to do is drag one application over another application, then release it. You will see that a folder will be automatically created. In this folder, the app icons will only be displayed in reduced form. You’re done! Now you have a folder on the Start menu. Clicking the folder will bring up a window above the Start menu, from which you can access the apps inside.
If you want to add more apps to the folder, just drag and drop them onto the folder.
The first four apps will be visible in reduced size. If you add more apps, they will appear hidden but are still accessible within the folder.
Additionally, the apps inside the folder can also be reorganized, simply drag and drop them where you want.
After you have created a folder in the Start menu, you can also name that folder. To do so, you only need to open your newly created folder and give it a name.
How to delete a folder in the Start menu
If you want to remove an app from a folder, simply drag it out and drop it anywhere in the Apps list. In order to delete the folder, you must drag and drop every app out of the folder, after which it will be automatically deleted from the Start menu.
How do I pin apps to my Start Menu?
If you want to pin any application to the Start Menu in Windows 11, do the following: